The Basics of Mixing Songs With a Digital Audio Workstation (DAW)
If you're a musician or audio engineer, you're probably familiar with the concept of mixing songs. Mixing is the process of balancing and adjusting individual tracks within a song to create a cohesive and polished final product. With the rise of digital audio workstations (DAWs), mixing has become more accessible than ever before. In this article, we'll go over the basics of mixing songs with a DAW.
Download the FREE Home Studio Setup Guide from my FREE Music Production resources
Mixing Tools
DAW - First, let's talk about the tools you'll need. You'll obviously need a DAW, which is software that allows you to record, edit, and mix audio. Some popular DAWs include Pro Tools, Logic Pro, and Ableton Live. You'll also need a computer with sufficient processing power and memory, as mixing can be a CPU-intensive task.
Audio Interface - This device connects your computer to your studio monitors or headphones and allows for high-quality audio playback and recording. A good audio interface can also reduce latency, which is the delay between when you play a sound and when you hear it through your monitors or headphones.
Headphones and Speakers - Studio monitors are speakers designed for accuracy, so they can reproduce the subtle nuances of a mix. Headphones, on the other hand, can help you hear individual tracks more clearly, as they isolate the sound in each ear. It's important to use high-quality headphones and monitors that accurately reproduce sound, so you can make precise adjustments to your mix.
 Take my FREE Ableton Live course. Learn Ableton Live in 90 - 120 minutes.
Organizing Your Tracks
Organizing tracks involves labeling them clearly and grouping them by instrument or sound source. By doing this, you can more easily make adjustments to multiple tracks at once, such as applying EQ or compression.
It's also important to arrange your tracks in a logical order. For example, you might put your drum tracks at the top, followed by bass, then guitars, then vocals, and so on. This makes it easier to see the structure of your song and identify any issues that need to be addressed.
Another helpful technique is to color-code your tracks. This can make it easier to visually distinguish between different tracks and identify them more quickly. For example, you might use green for your guitar tracks and blue for your vocal tracks.
Finally, you may want to consider using markers to indicate important sections of your song, such as choruses, verses, and bridges. This can help you navigate your mix more quickly and make adjustments to specific parts of the song.
By taking the time to organize your tracks, you can streamline your mixing process and make it more efficient. This can save you time and frustration in the long run and help you achieve a more polished and professional-sounding mix.
Setting The Levels
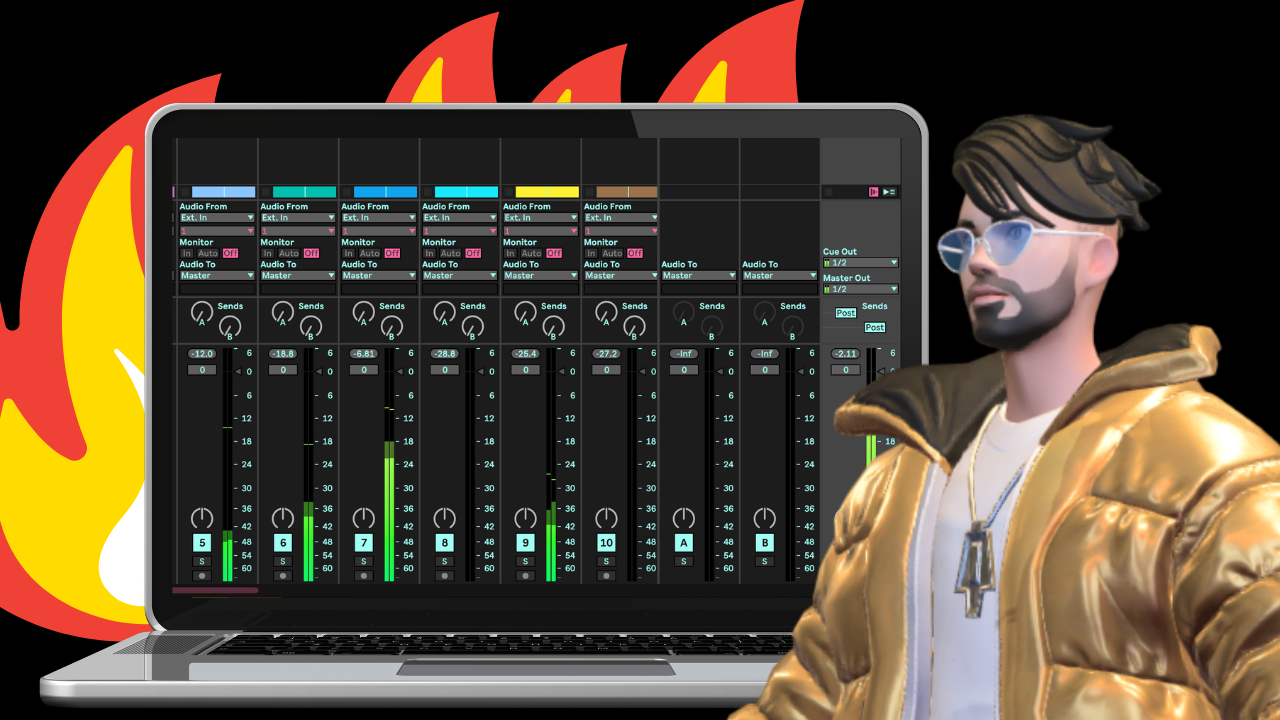
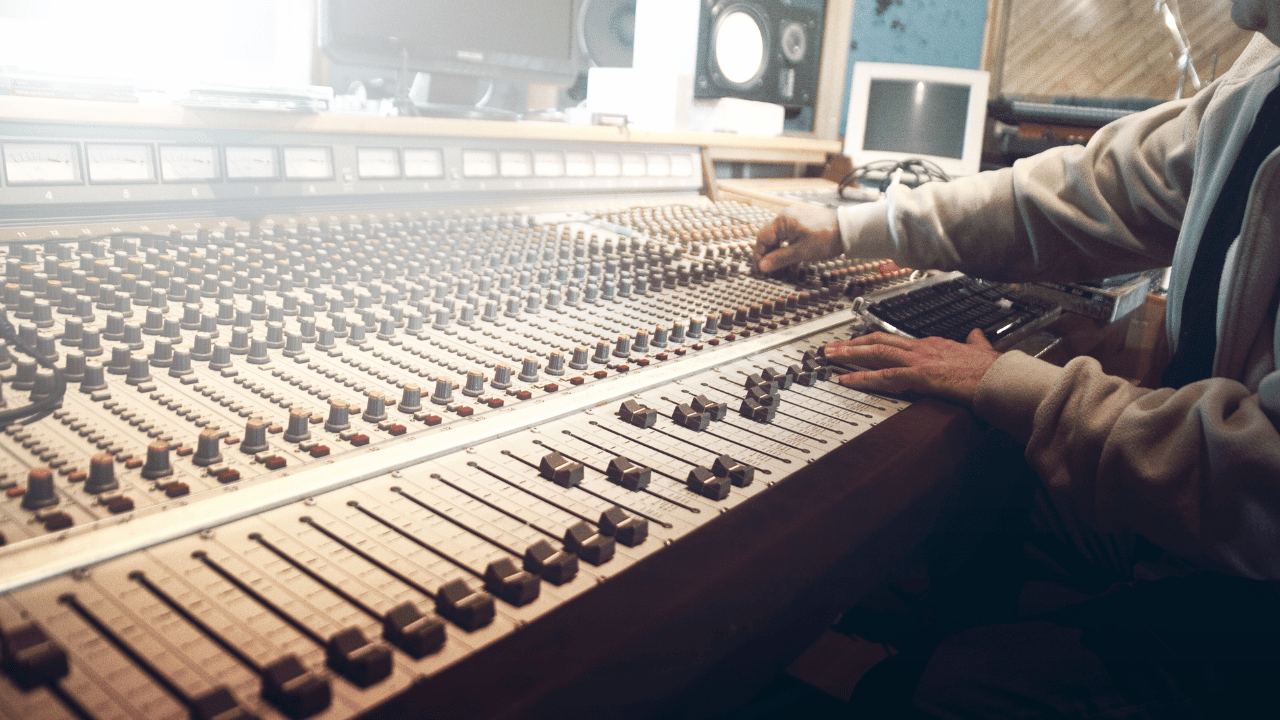
Setting the levels is adjusting the volume of each track so that they blend together in a balanced way. You want to avoid any one track being too loud or too quiet in relation to the others, as this can make your mix sound disjointed or unprofessional.
When setting your levels, it's important to keep in mind the overall dynamic range of your song. Dynamic range refers to the difference between the loudest and quietest parts of your mix. While it's tempting to make everything as loud as possible, this can actually reduce the impact of your mix and make it sound flat or compressed.
A good way to set your levels is to start with the drums and bass, which provide the foundation for the rest of the song. You want to make sure that they're audible without overpowering the other tracks. Once your drums and bass are set, you can move on to the other instruments and vocals.
As you adjust your levels, it's important to constantly listen and make small adjustments. Your ears can quickly become fatigued, so taking breaks and coming back with fresh ears can be helpful. You can also use visual aids, such as meters or waveforms, to get a more objective sense of the levels.
Read: How to Mix Music & Songs That Get a Reaction
Effects Processing
After setting your levels, the next step in mixing is applying effects processing. Effects can help to enhance the sound of your mix and make it more interesting and engaging. There are several different types of effects that you can use, including EQ, compression, reverb, delay, and more.
One of the most common types of effects processing is EQ, or equalization. This involves adjusting the frequency response of a track to boost or cut certain frequencies. For example, you might boost the high frequencies of a vocal track to make it more present and clear, or cut the low frequencies of a guitar track to reduce muddiness.
Compression is another important effect that can help to smooth out the dynamics of your mix. Compression reduces the volume of loud sounds and increases the volume of quiet sounds, making your mix more consistent and controlled.
Reverb and delay are two effects that can help to create a sense of space and depth in your mix. Reverb simulates the sound of a room or space, while delay creates a repeat or echo effect. Both effects can add a sense of dimension and depth to your mix and make it more immersive.
When applying effects processing, it's important to use them in moderation and avoid overdoing it. Too much processing can make your mix sound artificial or over-processed. It's also important to keep in mind the context of your mix and how each effect affects the overall sound.
Read: Starting a budget home studio for less than $500
Exporting The Mix
Finally, once you're happy with your mix, it's time to export it. This means creating a final stereo mixdown of your song that can be played on any device using a high-quality audio format to preserve the fidelity of your mix.
Before exporting your mix, it's important to listen to it carefully and make any final adjustments. This is a good time to check your levels, EQ, and effects processing to ensure that everything sounds balanced and polished.
When exporting your mix, you'll want to choose the right file format and settings. The most common file format for exporting a mix is WAV or AIFF, which are uncompressed formats that preserve the highest possible quality. However, these files can be quite large and may take longer to upload or download.
Another popular format is MP3, which is a compressed format that is smaller in size but sacrifices some quality. When exporting to MP3, you'll need to choose the right bitrate, which determines the amount of compression applied. A higher bitrate will result in better sound quality but a larger file size.
It's also important to consider the sample rate and bit depth when exporting your mix. Sample rate refers to the number of times per second that the audio is sampled, while bit depth refers to the number of bits used to represent each sample. A higher sample rate and bit depth will result in better sound quality but larger file sizes.
Conclusion: Mixing songs with a DAW can be a complex and time-consuming process, but it's also incredibly rewarding. A well-mixed song can make all the difference in how it's received by listeners. Remember to take your time, trust your ears, and have fun with the process. Happy mixing!
I can help you take your mixes from zero to hero! Go to yourmixsucks.com to start finally making fire mixes that make people move and get a reaction!
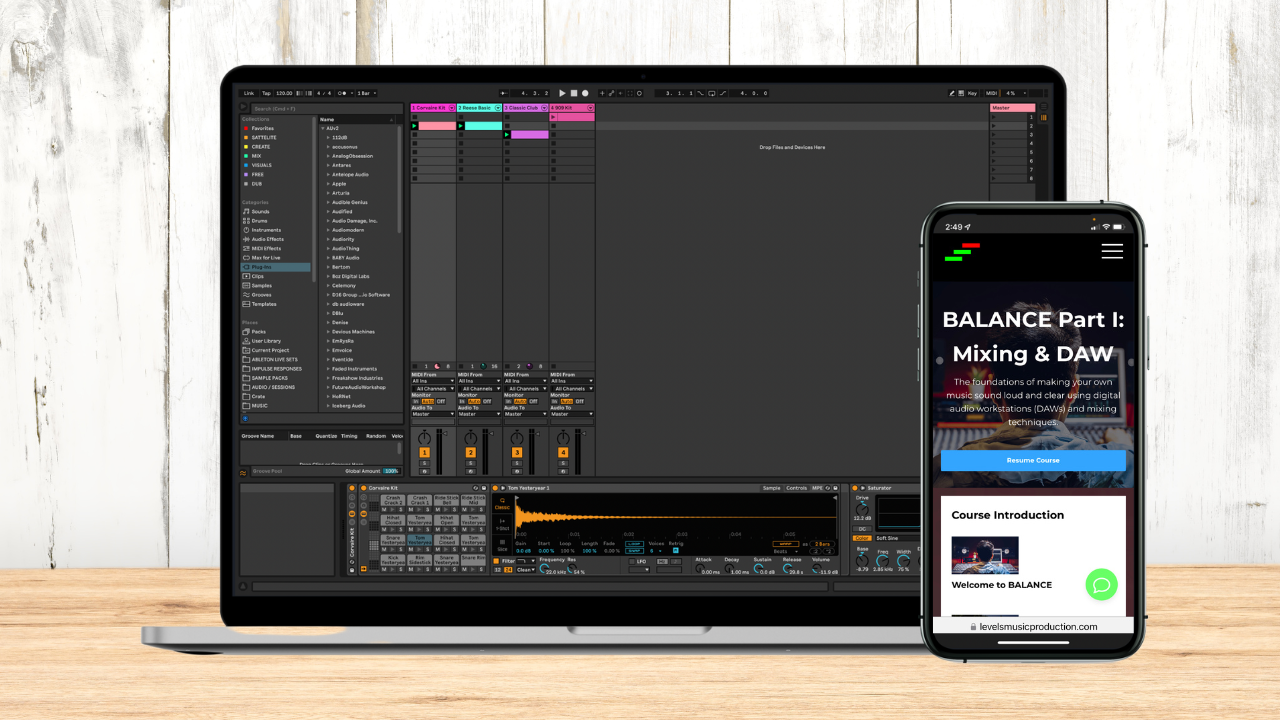
Learn Music Production with my live online classes and on-demand video training: BALANCE Part I: Mixing and DAW
You can find out more and sign up for discounted early access here.
Futch - Music Production Coach and Ableton Certified Trainer
Learn Music Production with my 27-class live online classes and on-demand video training:
Music Production Fundamentals • Writing Exciting Songs • Designing Your Artistic Vision
Make You-Type Beats

